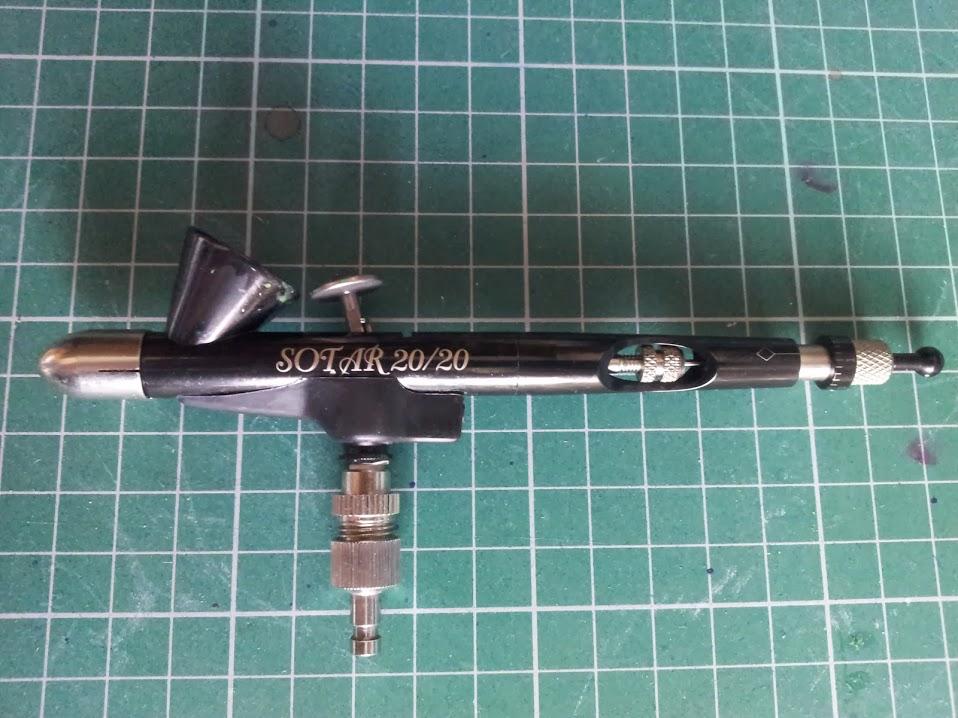
AIRBRUSH - H&S Infinity. Badger SOTAR.
PAINT - Com Art (1 part paint, 3 parts reducer)
PRESSURE - 35 psi
MEDIA - 250gsm Bristol Board
PAINT - Com Art (1 part paint, 3 parts reducer)
PRESSURE - 35 psi
MEDIA - 250gsm Bristol Board
The only way to get good at something is to keep practicing right?
Whenever I paint something that has hair I try and leave that particular part until the absolute last minute. I don't like doing it at all, but I realise my artwork is suffering because of it, and I don't want to get to a stage where I won't paint anything with hair! That's just plain crazy!
With the leopard my aim is to build up lots of layers but I have no idea how this will turn out? I've read a few 'how to's', and I have a good idea what I should be trying, but I can't imagine anything I do will look like a photograph (which ultimately is what I would one day like to be able to achieve)
I used tracedown paper to copy the reference image and began adding the outline and spots. I shaded very lightly the areas which have shadow & darker fur, then getting as close to the paper as I dare, I added fine lines in the same direction as the fur flows in the reference image.
First time ever!!! I actually thinned the paint down so much, so I can build the colour instead of making a very dark mess.
I used the electric eraser to add lighter lines within the ones I'd just created.
First time ever!!! I actually thinned the paint down so much, so I can build the colour instead of making a very dark mess.
I used the electric eraser to add lighter lines within the ones I'd just created.

First layer complete - looks quite rough!

My experience with the electric eraser this time is much better than last time! As long as I keep a very sharp edge it produces very fine and very sharp lines. It's just a case of controlling them.
My first possible mistake is that I coloured the whole image first, which was then left overnight. When trying to erase yesterday, it's like the paint has dried permanent into the paper so I wasn't able to remove any paint at all.
Having said that, I have just found that the Com Art paints are 're-wettable', which I assume means that I can spray a mist of water over the top of what I've done, and be able to erase lines?
I shall try that this afternoon!
Another layer and the fur/hair is beginning to look a lot better.
This was created with the electric eraser, and a few light coats of reduced black.
I did find that sometimes the paint seemed permanent and no matter how much erasing I did I just could not take off any paint? No idea why?
This was created with the electric eraser, and a few light coats of reduced black.
I did find that sometimes the paint seemed permanent and no matter how much erasing I did I just could not take off any paint? No idea why?

DISASTER!

So I tried re-wetting the paint by adding a very, very light mist of water - no heavier than a thin coat of paint. I waited a few minutes then started with the electric eraser.
After the initial shock and much deliberation of whether I should continue or not, I continued! | don't know why, but I did?
After the initial shock and much deliberation of whether I should continue or not, I continued! | don't know why, but I did?

On closer inspection you can actually see that the very top layer of paper has been removed! It wasn't obvious at first, but by the time I noticed it was too late. I did as much as I dared with the intention of tidying it up back to white, then to start again.

Not too bad after I 'shaved' the affected area with my scalpel. It's still a little rough, but I can't risk going through the paper. Now just to see what I can do...?
I didn't take any more pictures as I got far too involved and didn't even think about photographing my recovery, but here it is, DONE!

It turned out better than I expected on all counts. The recovery doesn't look too bad on the photo's, but close up you can see the paper is quite rough.
I did a lot more erasing to highlight the individual hairs, along with a lot of very thin black shadows. To finish off I used a white water colour pencil as well as a scalpel.
I'm pretty happy with it. It's my most life-like painting of hair to date, although I still have a way to go to achieving a photo like quality.

My wife liked the leopard so much that she wanted to frame it and hang it in the lounge. Huge compliment! And it doesn't look too bad at all.
Thanks babe x
Thanks babe x
