I am a huge fan of Batman, especially the most recent trilogy that started with 'Batman Begins'. Those films inspired me to buy the video game 'Batman - Arkham City'. I love the darkness of the game, and the characters especially. I appreciate the depth, detail and style of the artwork associated with this game and the video stills and I've always wanted to draw/paint some of these characters. Because of the level of detail and the intricacies of each character I have doubted my own ability at being able to accurately capture anything close to the original artwork!
I decided to test myself and started with 'The Joker'. I never believed it would get further than a few lines on a page, but I surprised myself with the result, which is one I am extremely happy with! I wanted to continue that self test so chose 'Harley Quinn' as my next subject.
(There is a method to my selection of characters - my son is absolutely crazy about the Lego Batman video game, so much so that he has given the whole family names from the game. I am 'The Joker', my wife is 'Harley Quinn' and my son is 'Batman'. 'No prizes to guess what my next project will be after this???)

Internet image
Day 1 - 2 hours

The prep work is sometimes such a chore!
The underside of my desk is a painted sheet of rough ply so I scuffed the surface with a green scourer, cleaned it up and painted white emulsion with a brush. (I would normally use a spray primer but I don't have much left right now!)
After the paint dried (5 coats) I sanded it down - nothing fancy, just enough to flatten the brush strokes and remove lumps in the paint. A quick clean then it was time to begin! (Finally!)
After the paint dried (5 coats) I sanded it down - nothing fancy, just enough to flatten the brush strokes and remove lumps in the paint. A quick clean then it was time to begin! (Finally!)

As with the Joker I used Tracedown paper and drew the outline and some of the details.
At this stage I wasn't sure if I would use Frisket film, templates or freehand?
At this stage I wasn't sure if I would use Frisket film, templates or freehand?
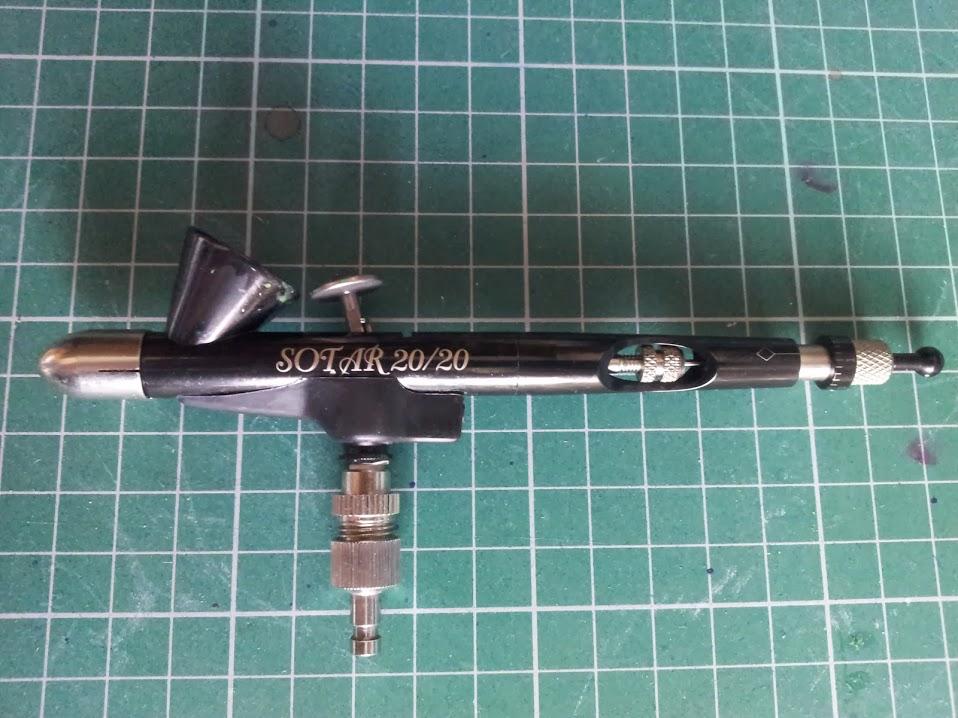
AIRBRUSH - Veda 180. HS Infinity. Badger SOTAR
PAINT - Inspire Base Black (1 drop) mixed with Inpsire Base White (3 drops) and 6 drops of thinners.
Mipa Mixing Scheme Red (5 drops) Binder (5 drops) Thinners (30 drops)
Normally I would have gone straight in with a lightly thinned black (50/50), but I'm quite heavy handed and I would always have to use a lot of white afterwards to hide the 'too dark' areas I would invariably get.
This time I opted for a light-ish grey thinned more than usual.
The Veda is a great brush to use, when it works! I've had problems on and off since I bought it 6 months ago, but this week I was adamant I would restore it back to its former glory! The problem was a pulsing spray pattern (even with water only in the cup) which is associated with a dirty brush. This thing has been stripped and cleaned more than I care to remember, so I was sure it was something else? After a lot of Googling I found that it may be a dirty nozzle. I soaked it overnight in thinners but that didn't work, though I did notice that the tip of the needle was very slightly bent!
I then changed the needle (from 0.2 to 0.3mm) and nozzle (spares included with the Veda brush) and hey presto! A perfectlty working brush again!

The Veda worked perfectly. The paint possibly could have been thinned a little more and looking at these pictures I maybe should have used a lighter grey?
I cut out the face from a photocopy using a craft knife and lightly sprayed around the edges. The grey came out quite light at the time and I couldn't see clearly where the paint was going! so I opted to continue freehand. Control with the Veda was really good and I could get the tiniest amount of paint from it. Having said that I'm not used to a brush working as well, so it'll take me time to get used to it.
You can see around the tip of the nose and under the lips that the colour doesn't look like it was applied with confidence as most of the time I was spraying lightly but not seeing it and then pulling the trigger further back!
I had to return to work at this point but I can't wait for tomorrow to continue....
Day 2 - 5 hours
I've finished with the grey and added the red, all that remains is to add depth with some black/dark grey, add some highlights and clean up the edges and then the hair, which I'm dreading!
Looking at all the overspray and the defuse edges I should have used Frisket film. My problem is that I'm too impatient and I wanted to start straight away and not waste time with it. It may have worked out quicker had I used it as I now have to spend time sharpening the edges!! Wings and swoundabouts!
I've recently found that a lot of people use an electric eraser to tidy up overspray and add detail to hair, so I've ordered one to give it a whirl. (Was hoping it would arrive today, but it hasn't!)
Anyway, the pictures below speak for themselves.


Day 3 - 5 hours
I got the Frisket film out and set to work with a scalpel.
I don't enjoy doing this as I prefer to paint free-hand and just get on with it! I'd like to say it didn't take long, but it did. It took ages!
I chose to cut out all parts before applying any paint - a lesson I learned from 'The Joker'!
I should have started painting at the top and worked my way down, but I wasn't looking forward to the hair or the face, so I started as far away from those parts as possible!

I should know better! I'm lethal with the black paint and don't know when to stop! I totally blacked out under the arm and can no longer make out any detail in that shadowed area. Not sure what to do here??? (white, then start again?)

I am quite happy painting 'cartoon affect' hair, but when it comes to natural looking hair I'm pretty dire. I try and get the paint thin enough so that it flows smooth and fine, but in doing so it's generally too thin to make much of an impact in one stroke. After several passes I'm left with a large, diffuse line that looks nothing like hair.
I did my best and it doesn't look 'too' bad....
I did my best and it doesn't look 'too' bad....

After laying the red down on the pony-tail tips I used the Veda brush for the black, but that was spitting badly and wouldn't stop, so I changed to the H&S Infinity to finish off. Again, I laid down far more black than I intended so Harley is now sporting a head of dark, cartoon style hair!

I think it looks okay, but when compared to the original it looks worlds apart.
There's not much else I can do with the hair right now, except to add a few highlights and hope it adds more texture? (I will try the electric eraser once it turns up.....on Monday maybe??)
Just the hand, wrist, neck and face to go....
There's not much else I can do with the hair right now, except to add a few highlights and hope it adds more texture? (I will try the electric eraser once it turns up.....on Monday maybe??)
Just the hand, wrist, neck and face to go....

Boob close-up!
I love how her left boob looks like it's floating. Exactly what I was aiming for....(ahem!)...
I love how her left boob looks like it's floating. Exactly what I was aiming for....(ahem!)...
Day 4 - 3 hours
I only intended to spend a short time on Harley today but, you know how it goes.....and I got carried away!
I thought that by adding black to the grey I started with would give a nice, even progression from very dark to very light. I should know better! Heavy handed as always, and to make matters worse I could not make the paint work for me at all!
I could not get the consistency or pressure right and the paint either 'spidered' across my work, or nothing would come out until, with further trigger movement, all of a sudden loads of paint would be dumped onto my work. The white went along the same lines too!
I persevered when I should have stopped. I suspect my brushes need cleaning, but I think it's a bit of a coincidence that all 3 did the same thing at exactly the same time!?!

I re-did the eyes and the mouth so many times I didn't even take photo's.
Aaaaaannnnnnndddd, I used Frisket Film on the face. When I peeled it away it took patches of paint from the hair and wrist band! Bugger!
Aaaaaannnnnnndddd, I used Frisket Film on the face. When I peeled it away it took patches of paint from the hair and wrist band! Bugger!
Day 5 - 20 minutes
Nothing much going down today other than the electric eraser arrived!
I won't say any more than what I said in my blog today, but you can see for yourself how I coped!
I won't say any more than what I said in my blog today, but you can see for yourself how I coped!

There were moments the eraser worked as I thought it would - removing paint in a thin, crisp even line. However, for the rest of the time (95+%) it produced broken, thick scruffy lines. Maybe I'm doing something wrong, but practice does make perfect and I shall replace the batteries and see if I can do something to salvage the hair?
Over 15 hours spent on this so far, and to be honest I was hoping it would take half the time it has. I can see I need to spend a couple more hours, but I'm beginning to think about my next project and can't wait to finish this now. I faff far too much!!!
Over 15 hours spent on this so far, and to be honest I was hoping it would take half the time it has. I can see I need to spend a couple more hours, but I'm beginning to think about my next project and can't wait to finish this now. I faff far too much!!!
Day 6 - 1 hour

Today was spent fixing the hair, so it was back on with the Frisket film and more black and white, and a little red.
Sometimes the brushes work for me, sometimes they don't. Today was a mixture as they started off great and I was able to get nice, ultra fine lines, but then toward the end I had spluttering brushes.
I tidied what I could, then called it a day! Done!
Sometimes the brushes work for me, sometimes they don't. Today was a mixture as they started off great and I was able to get nice, ultra fine lines, but then toward the end I had spluttering brushes.
I tidied what I could, then called it a day! Done!

Click image to enlarge
And finally, side by side with the joker....

Click image to enalrge
