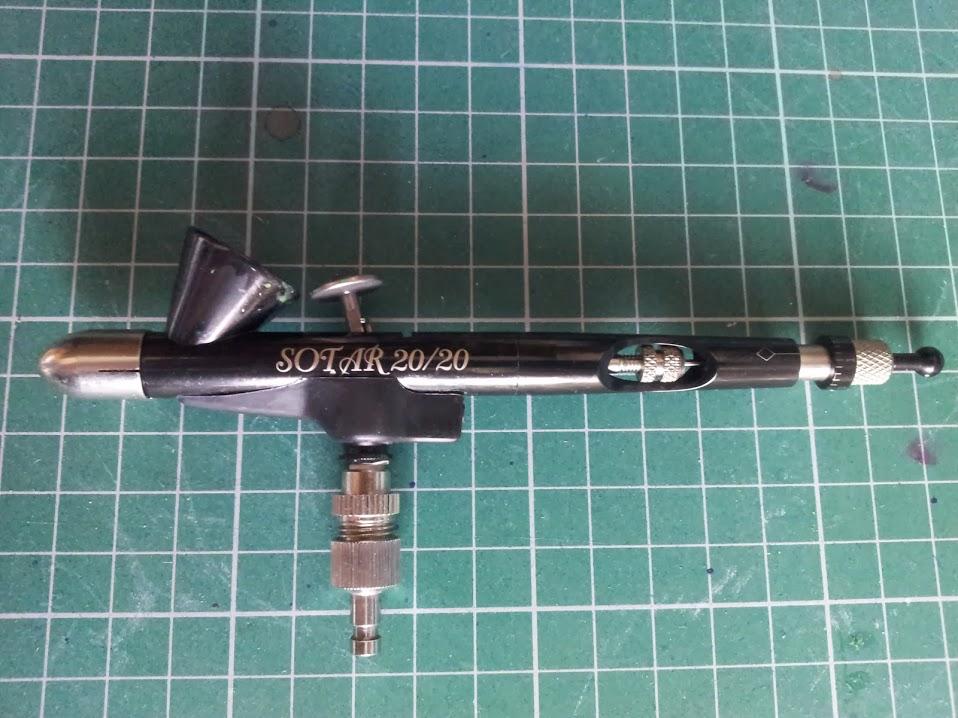
AIRBRUSH - H&S Infinity. Badger SOTAR.
PAINT - Com Art (Not reduced)
PRESSURE - Variable <40 psi
MEDIA - 250gsm Bristol Board
TIME TAKEN - 5 hours
PAINT - Com Art (Not reduced)
PRESSURE - Variable <40 psi
MEDIA - 250gsm Bristol Board
TIME TAKEN - 5 hours
A work colleague of mine has 2 loves in here life - 1 is baking and the other is her chickens! (I'm sure she has more loves in her life, but for arguments sake, today she has 2!)
Occasionally I arrive at work to find packages on my desk containing cakes and muffins from my colleague. It's nice to know she's thought of me so as a way of saying thanks I thought I would indulge in her other passion and attempt to paint a chicken for her. It's great practice for me, and rather than it end up in a portfolio never to be seen again, it would be great knowing that someone may be getting enjoyment from what I've done.
Occasionally I arrive at work to find packages on my desk containing cakes and muffins from my colleague. It's nice to know she's thought of me so as a way of saying thanks I thought I would indulge in her other passion and attempt to paint a chicken for her. It's great practice for me, and rather than it end up in a portfolio never to be seen again, it would be great knowing that someone may be getting enjoyment from what I've done.
I used tracedown paper to copy the reference image onto the paper.


Using transparent brown in the Badger airbrush I lightly shaded the darker areas and 'mapped' out the flow of the hair/feathers.
On top of the brown I put down a layer of transparent orange, overlapping the brown and used a fibreglass eraser to remove fine hairline lines of paint. This 'should' add depth to the picture after several more layers have been put down.
On top of the brown I put down a layer of transparent orange, overlapping the brown and used a fibreglass eraser to remove fine hairline lines of paint. This 'should' add depth to the picture after several more layers have been put down.
I continued adding a couple more layers of orange and used the firbreglass eraser in between.
I then added transparent red around the eye and under the beak. I only put a light coat on initially, then went over the darker areas with the same colour. This just maps out the shape of what I'm painting and allows me to get the shadow exactly where I want it before adding a darker red.
I then added transparent red around the eye and under the beak. I only put a light coat on initially, then went over the darker areas with the same colour. This just maps out the shape of what I'm painting and allows me to get the shadow exactly where I want it before adding a darker red.


I continued with the red on top of the head, and once happy with the placement of the shadow I then mixed brown and a drop of black to put in the final shadow. Adding orange and brown to red I then painted the final layer of red.
What may not be obvious from this picture is that the red parts (I think called 'Comb' (top of head) and 'Wattles' (under beak)) are textured. To add this texture I used the firbreglass eraser to 'dab' lots and lots of (white) dots. I then repainted and dabbed again. I then used the dark red paint in the airbrush and painted lots and lots of tiny dark dots and lines. It took a while, and I think I got bored before it was complete, so I kept stopping to do some more hair/feathers then going back and doing a little more.
What may not be obvious from this picture is that the red parts (I think called 'Comb' (top of head) and 'Wattles' (under beak)) are textured. To add this texture I used the firbreglass eraser to 'dab' lots and lots of (white) dots. I then repainted and dabbed again. I then used the dark red paint in the airbrush and painted lots and lots of tiny dark dots and lines. It took a while, and I think I got bored before it was complete, so I kept stopping to do some more hair/feathers then going back and doing a little more.

I added more detail to the feathers, eventually finished the detail to the comb and wattles and added some finishing touches. I painted the background by cutting out a photocopy of the reference image, laid it over the top and used it as a template to paint over. I didn't want to add any detail to the background, or any sort of feature as it may draw the eye away from the image. (Background objects are out of focus anyway so something basic would suffice).
I added highlights to the eyes, beak and wattle & comb. I added a little more orange to the feathers and a little detail with the fibreglass eraser.
Using a heat gun to warm the masking tape I was able to peel it off without it ripping the paper!
Done!
Hopefully it will be well received.
Using a heat gun to warm the masking tape I was able to peel it off without it ripping the paper!
Done!
Hopefully it will be well received.

Chicken - completed!
